This guide will walk you through the basics of natural dyeing from equipment to dye plants so you can easily get started.
Are you one of the people who have asked me: “Can you just give me a list of everything I need to get started with dyeing?” Here is that list! You can use the information in this guide to set up a dedicated studio or just a small corner of your kitchen for dyeing.
What You'll Need: Materials & Tools
You don’t need a complex setup to start natural dyeing. When you are just getting started, you can simply check out thrift stores for natural fibers and equipment. You will want to keep all of your cooking equipment separate from your dyeing equipment. So, next time you see a stainless steel pot or pair of tongs at the thrift store, grab them!
Basic Materials:
- Natural fibers – Think cotton, linen, wool, or silk. Synthetic blends don’t take the dyes as easily as 100% natural fibers, but something like at 95% natural fiber will dye nicely. Overdye stained clothes and breathe new life into linens.
- Mordants – These help the dye pigments to bond to your fabric. Here are my favorite recipes for mordanting cellulose and protein fibers.
- Plant materials – so many choices! More on easy starter recipes below.
- pH modifiers (optional) – Things like vinegar, baking soda, or lemon juice that can shift the color.

Basic Tools:
- A stainless steel pot. You can use aluminum or copper pots, but the metals in the pots can react to the dyes. (This can be a fun experiment! However, if you are hoping for a certain result, it is best to stick to stainless. But, if you see a copper pot in a thrift store–BUY IT!)
- Tongs and stirring spoons
- A small gram scale for weighing mordants and dye materials
- Gloves and an apron
- Buckets or bowls (Ask any dyer! You can never have enough 5-gallon buckets.)
- Leftover plastic containers to weigh out materials. I use yogurt containers, to-go soup containers, etc.
- A high-quality mask or respirator for measuring out powdered metal salts.
Worth repeating: Keep dyeing tools separate from your cooking tools for safety.
Beginner-Friendly Dye Plants
You don’t have to trek into the wild or buy specialty plants to start. These easy-to-source dye materials are great for beginners:
- Avocado pits – Create soft pinks and dusty mauves
- Onion skins – Yellow skins give golden hues; red skins give reds and greens
- Marigolds – Bright yellows and oranges (fresh or dried)
- Turmeric – Vibrant yellow (though it tends to fade over time and in the sun)

Depending on where you live (and if you’re feeling adventurous) keep an eye out for:
- Black Walnuts – Rich browns and grays, no mordant needed
- Goldenrod – bright, sunny yellows
- Oak galls, acorns, and sumac – tannin rich
- Eucalyptus – There is a whole rainbow in the hundreds of eucalyptus varieties!
Where to Get Dye Materials
You don’t necessarily need a specialty store—here are some ideas for finding dyes that are already in your fridge, or down the block at your local flower shop.
- Kitchen scraps – Save your onion skins, avocado pits, black bean soaking water...
- Florists – Befriend your local florist! (For so many reasons, but also to take some flowers that may be past their prime off their hands).
- Also, Farmers – What can’t they do?! They are growing dye plants and may not even know it. You can also grow your own! I have a guide for starting a dye garden.
- Restaurants and Grocery Stores – Let your favorite Mexican restaurant know you are on the lookout for avocados. Ask your co-op to put onion skins aside for you next time they clean out the bin. Or, toss the onion bin around at the store and collect skins on your next trip.
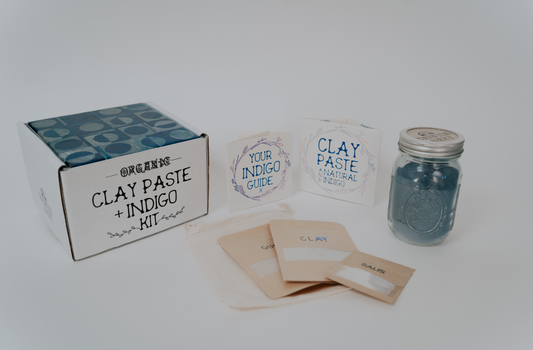
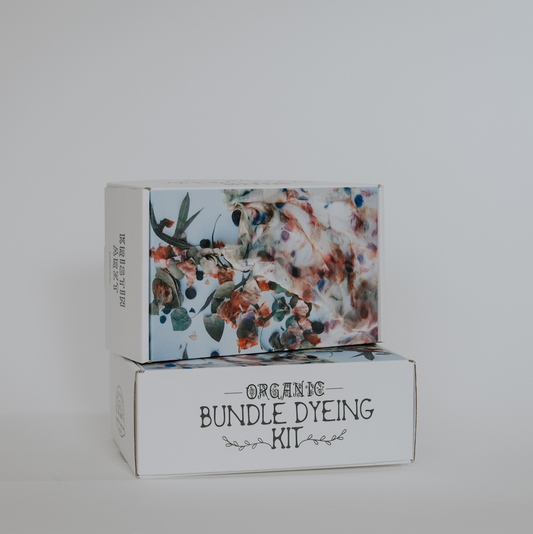
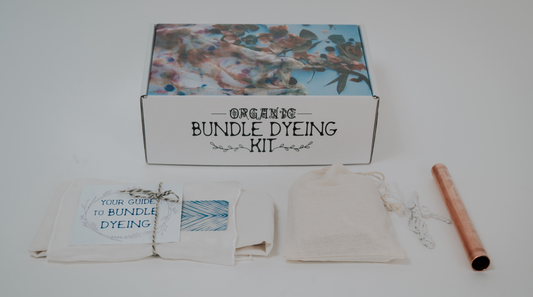
- Dye Shops – Botanical Colors, Maiwa, Dharma, Etsy sellers for dried plants and mordants. You can also get started with a simple kit that is meant specifically for beginners.
- Foraging – With permission, collect windfall materials like leaves, bark, or nuts.

Where to Set up Your Dye Space?
You can simply dye on your kitchen stove! Just remember to keep your equipment separate. (After some time your dye tongs will almost certainly turn a shade of blackish red, and you definitely won't want them anywhere near your food.) If the kitchen is off-limits, try an electric burner in another corner of your house.
If you are interested in dyeing outdoors, propane stoves are great investments. Dyeing outside also takes the anxiety out of dripping all over your kitchen floor.
A Few Beginner Dye Recipes
These recipes are simple, low-risk, and a great way to get familiar with the dyeing process. They are also great to familiarize kids with plant-based dyes.
Food dyes tend to fade more quickly in the wash or sun, so be sure to keep your dyed items out of the direct sunlight and wash with a gentle soap (I always recommend Seventh Generation Free & Clear).
Avocado Dye
- Save as many clean avocado pits as you can. Wash them when the meat is still fresh so it comes off easily. Keep them in your freezer until you are ready to start your dye bath.
- Simmer in water for 1–2 hours until the liquid turns pinkish and the pits start to soften.
- Strain out the pits, then add your mordanted fabric.
- Let it soak for a few hours or overnight for richer color.
- Avocado dye often gets better with age and oxygen, so keep your fabric in for up to 3 or 4 days for a deeper color. Agitate it whenever you remember.
Onion Skin Dye
- Use a large handful of dry onion skins – red onion skins range from green to red, and yellow skins give a golden orange.
- Simmer in water for 30–45 minutes and strain.
- You can also bundle dye with onion skins!
Black Bean Dye
- Soak dry beans at room temperature for 12–24 hours. Don’t add heat! That will shift the color to brown.
- Strain off the beans and add your fabric to the liquid.
- Let it soak for 6–12 hours, or overnight.
- Play with pH! Add some lemon juice or baking soda for wildly different results.

Indigo Dyeing (Yes, even for beginners!)
Indigo is a different kind of process (no mordant needed), but it’s beginner-friendly with the right setup. Here is a guide to getting started with natural indigo dyeing.
A Few Final Tips Before You Dive In
- Pre-wash and scour your fabric.
- Keep a dye journal—note your plant materials, fabric, mordants, and experiments.
- Be patient and curious—natural dyeing is an art and a bit of a science.
- Find your dyeing community. There are Fibersheds all over the world filled with fellow fiber enthusiasts! Look up your local chapter here.
- Shout that you are starting a natural dye journey from the rooftops! You can create a beautiful relationship with your neighbor who just pruned their walnut tree.