Shibori is a traditional Japanese dyeing technique that involves folding, twisting, and binding fabric before dyeing to create patterns. Whether you're new to Shibori or looking for ideas, these beginner-friendly techniques are a great place to start.
A Brief History
The name Shibori is derived from the Japanese word "Shiboru" which roughly translates to: “to bind.” Shibori is believed to have been introduced from China to Japan. The oldest pieces of shibori dyed cloth in existence were found in a tomb in Western Liang in the year 418, and the earliest examples of shibori in Japan date back to the 8th century, donated to a Buddhist temple in Nara in 756. Shibori flourished during the Edo period in Japan (1603 -1868). During this time, it was forbidden for common folks to wear luxury fabrics, so new ways of decorating the less expensive linen and hemp fabrics were sought. The following techniques are simplified and derived from these two traditional Shibori methods:
Kanoko: This form of shibori is the most similar to modern tie-dye. This method involves binding pinched sections of the cloth to create circular patterns. You can secure each section with string, or use rubber bands as a resist. Kanoko is the Japanese word for "fawn.”
Itajime: This shape-resist shibori technique is achieved by folding the cloth and sandwiching it between two pieces of identical wood. Itajime translates roughly to "board clamping" in English.
Tools and Supplies
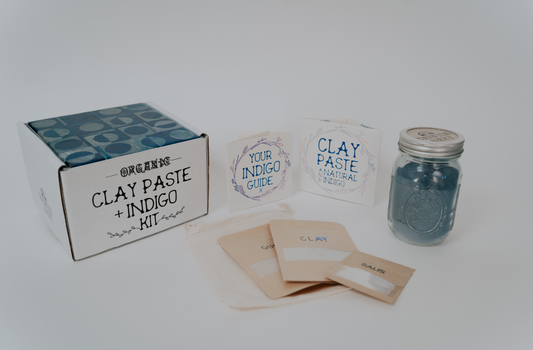
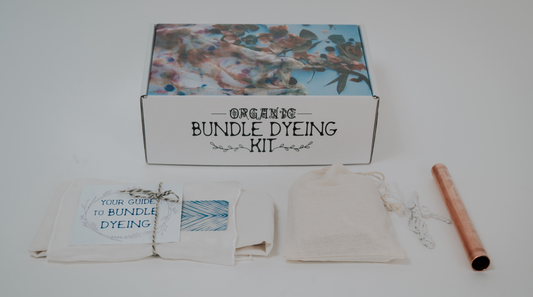
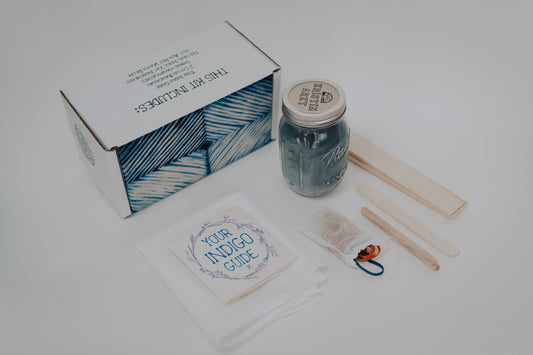
To get started, all you need are some basic supplies, including twine, scissors, rubber bands, clothespins, wooden shims, jar lids, and popsicle sticks. If you already have my Indigo + Shibori Kit, you have most of the Shibori supplies. I bet you have the rest at home!

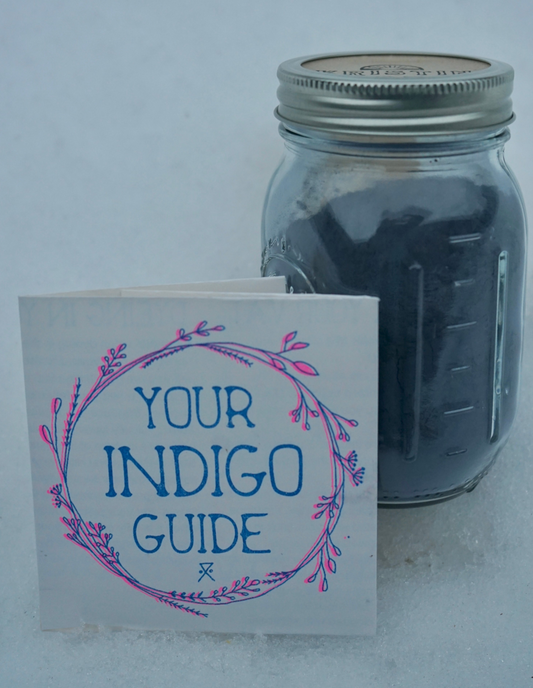
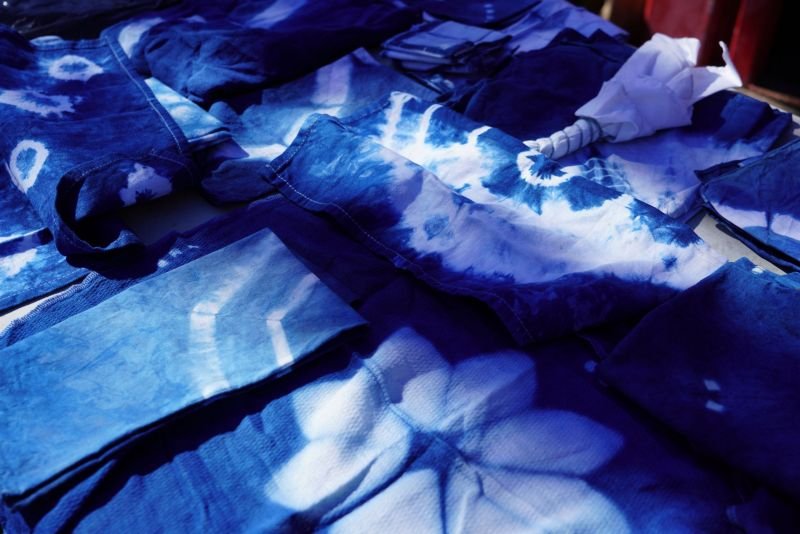
I’ll demonstrate each of the below techniques with indigo dye, but you can do them with any dye of your choosing.
1. The Tie-Dye “Smoosh”
This is an easy way to get started and creates an organic, cloud-like pattern. This one is especially great for sharing with kids.

How to Do It:
- Lay your fabric flat.
- Use both hands to gather your fabric and bunch it together towards the center, creating a random, smooshed shape.
- Secure the fabric loosely with one or two rubber bands.

2. Honeycomb Shibori
This technique creates a beautiful pattern that resembles a honeycomb or snakeskin.

How to Do It:
- Lay your fabric flat and cut a piece of twine slightly longer than the fabric width. Nylon works well for this because it doesn’t snap when we pull it taut.
- Place the string along one edge of the fabric and roll the fabric around it loosely.
- Once fully rolled, bring the two ends together.
- Hold the twine in one hand and scrunch the fabric towards the center. Tie the twine tightly.


3. Rubber Band Resist
A simple way to create circles on your fabric.

How to Do It:
- Lay the fabric flat and pick areas where you’d like to create circles.
- Pinch the fabric at each selected point and secure it with a rubber band.

4. Radial Fold - Floral Print
This method results in a floral-like design using circular objects as resists.

How to Do It:
- Fold your fabric in half, then in half again.
- Create a triangle fold by bringing one corner to the opposite edge.
- Place circular objects (like jar lids or wooden discs) at the center.
- Secure the circles using a spring clamp or wooden shim and secure them with rubber bands.
- Optionally, use clothespins around the edges to create square patterns.

5. Radial Fold - Hexagon
This one is the cousin to our floral radial fold. Start with the same fold, and add popsicle sticks or shims, instead of a circular shape.

How to Do It:
- Fold your fabric in half, then in half again.
- Create a triangle fold by bringing one corner to the opposite edge.
- Sandwich the fabric with popsicle sticks or wooden shims and secure either end with rubber bands or a spring clamp.

6. Wooden Shim Zigzag
This technique produces a striking zigzag. My family affectionately calls this one the Charlie Brown stripe.

How to Do It:
- Fold the fabric accordion-style on a diagonal.
- Once folded, place two wooden shims on either side of the fabric at a 45-degree angle.
- Secure the shims with rubber bands or a spring clamp.

Get Creative!
These six beginner-friendly Shibori techniques are a starting point for anyone looking to explore this beautiful art. Experiment with different folds, binding materials, and dyes. Combine resists; invent new ones!
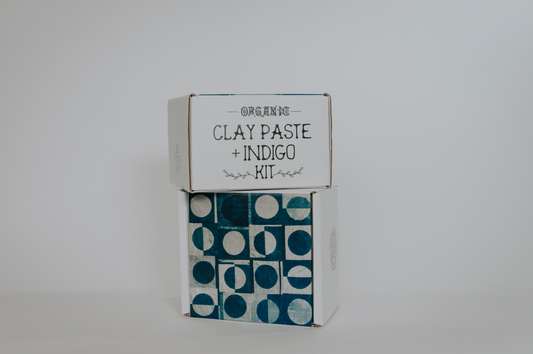
Get Started with a Kit